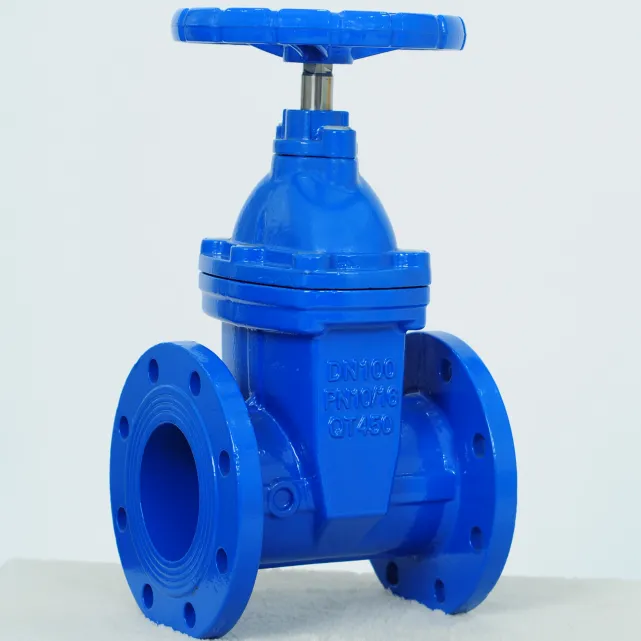
Guide to Installing a Foot Valve for Improved Water Flow and Efficiency
Installing a Foot Valve A Step-by-Step Guide
A foot valve is an essential component for any pump system, particularly in applications involving water wells or irrigation systems. Its primary function is to prevent backflow and maintain prime in the pump. Installing a foot valve may seem daunting, but with the right tools and careful instructions, you can successfully complete this task. Here's a step-by-step guide on how to install a foot valve.
Gather Your Tools and Materials
Before you begin, ensure you have all necessary tools and materials ready. You will need - A foot valve - A length of pipe (PVC or metal, depending on your setup) - Pipe fittings (adaptors, elbows, etc.) - Teflon tape for sealing - A wrench or pliers - A level for alignment - A shovel (if digging is required)
Step 1 Choose the Right Location
Begin by selecting an appropriate location for your foot valve. It should be placed at the bottom of your suction line or inside the water source (like a well or pond). Ensure that the area is clean and accessible, as you may need to perform maintenance later.
Step 2 Prepare the Area
If installing in a well, you may need to dig down to expose the existing piping. Make sure to remove any debris or obstructions. If your foot valve will be submerged, ensure it will be fully immersed in water when the pump is operating.
Step 3 Assemble the Foot Valve
installing a foot valve

Before installing, assemble the foot valve according to the manufacturer’s instructions
. Wrap the threads of the valve with Teflon tape to ensure a watertight seal.Step 4 Connect the Pipe
Attach the foot valve to the pipe. Make sure that the valve is oriented correctly; the inlet should face the water source. Use the appropriate fittings and tighten them securely with a wrench, being careful not to overtighten and damage the threads.
Step 5 Ensure Proper Alignment
Once connected, ensure that the pipe leading to your pump is straight and at a downward angle towards the water source. This alignment is crucial for optimal suction and performance of the pump.
Step 6 Test the Installation
After installation, turn on the pump and check for any leaks around the foot valve and connections. If everything is secure and functioning properly, you are ready to start using your system.
Conclusion
Installing a foot valve is a straightforward process that can greatly enhance the efficiency of your pump system. By following these simple steps, you ensure that your equipment remains primed and ready for use, preventing costly downtime in your water management operations.
-
The Key to Fluid Control: Exploring the Advantages of Ball Valves in Industrial SystemsNewsJul.09,2025
-
The Versatile World of 1, 2, and 3 Piece Ball ValvesNewsJul.09,2025
-
Stainless Steel Ball Valves: The Ideal Choice for Efficient Flow ControlNewsJul.09,2025
-
Optimizing Fluid Control with Ball Float ValvesNewsJul.09,2025
-
Manual Gate Valves: Essential for Control and EfficiencyNewsJul.09,2025
-
Everything You Need to Know About Butterfly ValvesNewsJul.09,2025
-
The Versatility of Wafer Type Butterfly ValvesNewsJul.08,2025


