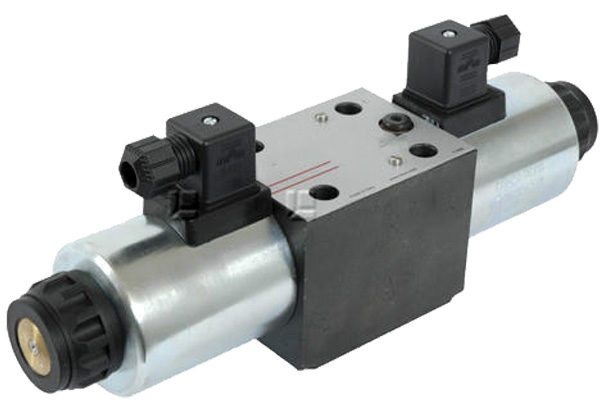
Guide to Proper Installation of a Foot Valve for Your Pump System
Installing a Foot Valve A Comprehensive Guide
A foot valve is an essential component in many pumping systems, especially in applications where water must be drawn from a well or a body of water. This check valve allows water to flow into the pump while preventing backflow when the pump is not in operation. Proper installation of a foot valve is crucial for efficient system operation, and this article will provide a detailed guide on how to successfully install one.
Materials and Tools Required
Before you begin the installation, gather the necessary materials and tools
- Foot valve (appropriate size for your pump) - Pipe wrench - Teflon tape or pipe joint compound - PVC or metal pipe (as needed) - Screwdriver - Safety goggles and gloves
Step-by-Step Installation Process
Step 1 Prepare the Area Locate the site where you will install the foot valve. Ensure that the area is clear of debris and that you have easy access to both the pump and the water source. If you are installing a new pump, consult the manufacturer’s specifications for any additional recommendations regarding the foot valve.
Step 2 Measure and Cut the Pipe If your foot valve requires piping, measure the distance from the pump to the water source. Cut the pipe to the appropriate length, ensuring that it is straight and cleanly cut. Deburr the edges if necessary to avoid any obstructions when attaching fittings.
installing a foot valve

Step 3 Attach Teflon Tape To ensure a watertight seal, wrap Teflon tape around the male threads of the pipe fittings. If you are using a pipe joint compound, apply it evenly to the threads instead. This step is crucial to prevent leaks once the system is pressurized.
Step 4 Install the Foot Valve Attach the foot valve to the end of the pipe that will be submerged in water. Depending on the type of foot valve, this may involve either screwing it directly onto the pipe or using a series of fittings to connect it. Make sure the orientation of the foot valve allows for the correct flow direction, typically indicated by an arrow on the valve body.
Step 5 Secure the Installation Use a pipe wrench to tighten all connections carefully, ensuring they are secure but not overly tightened to avoid damaging the fittings. Check to ensure that the foot valve is in a vertical position to maximize efficiency.
Step 6 Submerge the Foot Valve Lower the assembled pipe connected to the foot valve into the water source. It should be submerged a few feet below the water surface to prevent issues like cavitation. Ensure that the foot valve is positioned at a depth where it will remain underwater even during periods of low water.
Step 7 Connect to the Pump Once the foot valve is securely in place, connect the other end of the pipe to the pump. Follow the manufacturer's guidelines to ensure proper installation of the pump and make any necessary connections.
Step 8 Test the System After everything is connected, turn on the pump to test the installation. Observe the system for any signs of leaks around the connections. If water flows smoothly and there are no leaks, congratulations! Your foot valve is installed correctly and functioning as intended.
Conclusion
Installing a foot valve is a straightforward process that can significantly enhance the efficiency of your pumping system. By following the steps outlined above and emphasizing the importance of secure connections and correct orientation, you can ensure that your foot valve operates effectively, preventing backflow and keeping your water source flowing smoothly. Always remember to prioritize safety by wearing protective gear and adhering to industry standards throughout the installation process.
-
The Key to Fluid Control: Exploring the Advantages of Ball Valves in Industrial SystemsNewsJul.09,2025
-
The Versatile World of 1, 2, and 3 Piece Ball ValvesNewsJul.09,2025
-
Stainless Steel Ball Valves: The Ideal Choice for Efficient Flow ControlNewsJul.09,2025
-
Optimizing Fluid Control with Ball Float ValvesNewsJul.09,2025
-
Manual Gate Valves: Essential for Control and EfficiencyNewsJul.09,2025
-
Everything You Need to Know About Butterfly ValvesNewsJul.09,2025
-
The Versatility of Wafer Type Butterfly ValvesNewsJul.08,2025


