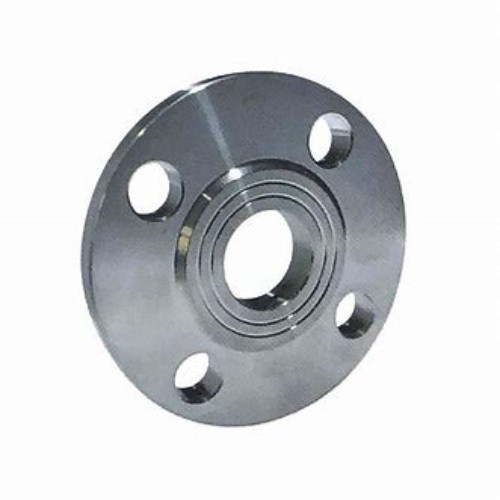
How to Change a Pressure Reducing Valve Effectively and Safely
Replacing a Pressure Reducing Valve A Step-by-Step Guide
A pressure reducing valve (PRV) is a critical component in many plumbing systems, designed to decrease the incoming water pressure to a manageable level before it enters your home’s plumbing system. Over time, like any mechanical device, a PRV can wear out or malfunction, leading to problems such as fluctuating water pressure, leaks, or even bursts in pipes. If you find yourself facing such issues, replacing the pressure reducing valve may be necessary. This guide aims to provide you with step-by-step instructions on how to replace a pressure reducing valve efficiently and safely.
Tools and Materials Needed
Before you begin, gather the following tools and materials - Adjustable wrench or pipe wrench - Bonnet wrench (if applicable) - New pressure reducing valve - Teflon tape - Towels or rags - Bucket (to catch any water) - Safety goggles and gloves
Step 1 Turn Off the Water Supply
The first step in replacing a pressure reducing valve is to turn off the water supply to your home. This is usually done at the main shut-off valve. After shutting off the water, open several faucets in the house to release any remaining pressure in the system. This will help prevent any sudden sprays of water when you remove the old valve.
Step 2 Drain the System
To avoid a mess, place a bucket under the existing valve to catch any residual water. Open the faucet connected to the valve to allow any remaining water in the pipes to drain. This will help minimize spillage during the removal process.
Step 3 Remove the Old Pressure Reducing Valve
Using an adjustable wrench, loosen the nuts securing the PRV. Be gentle to avoid damaging the surrounding pipes. If the valve has a bonnet (the cap on top of the valve), you may need a bonnet wrench to remove it. Once you have loosened the nuts, carefully twist the old PRV off, making sure to catch any water that might still be in the system.
replacing pressure reducing valve

Step 4 Prepare the New Valve
Before installing the new pressure reducing valve, make sure to read the manufacturer's instructions. Apply Teflon tape to the threads of the new valve to ensure a tight seal and prevent leaks. Be generous but avoid over-wrapping, as this can lead to difficulties in tightening the valve.
Step 5 Install the New Pressure Reducing Valve
Position the new PRV in place and hand-tighten the nuts to secure it. Once it is snug, use your wrench to tighten it fully, but be careful not to overtighten, as this could damage the valve or the piping. Ensure that you follow the flow direction indicated on the valve; it typically has an arrow indicating the proper water flow direction.
Step 6 Turn On the Water Supply
After the new valve is installed, turn the main water supply back on slowly. Check for any leaks around the connection points. If you notice any leaks, tighten the connections slightly until the leaking stops.
Step 7 Adjusting the Pressure
Once installed, you may need to adjust the pressure settings on your new PRV. Refer to the manufacturer's guidance for the optimal pressure level for your home. Use a pressure gauge to ensure that the water pressure is set to the desired level.
Conclusion
Replacing a pressure reducing valve may seem daunting, but with the right tools and these step-by-step instructions, it can be accomplished safely and effectively. Remember that regular maintenance checks on your plumbing system can help prolong the life of your PRV and prevent unexpected failures. By replacing a malfunctioning valve, you’ll improve your home’s water pressure stability and protect your plumbing system from potential damage.
-
3-types-of-check-valves-maintenance-tipsNewsAug.23,2025
-
ball-valves-types-with-trunnion-mounted-designNewsAug.23,2025
-
butterfly-valve-company-production-capabilitiesNewsAug.23,2025
-
fisher-globe-valve-technical-specificationsNewsAug.23,2025
-
types-of-gaskets-for-flanges-selection-guideNewsAug.23,2025
-
wedge-gate-valve-suppliers-quality-standardsNewsAug.23,2025
-
Breakthrough in Domestic Low Temperature Valve Technology in ChinaNewsAug.18,2025


